背景介绍
技术选型
NextAuth
SupaBase Auth
Clerk
实现步骤
添加应用
配置环境变量
安装 Clerk
npm install @clerk/nextjs在根布局中添加 ClerkProvider
import type { Metadata } from "next";
import { Inter } from "next/font/google";
import { Analytics } from "@vercel/analytics/react"
import { ClerkProvider } from '@clerk/nextjs'
import "./globals.css";
import Header from "@/components/header";
import Footer from "@/components/footer";
import { domain } from "@/lib/constant";

const inter = Inter({ subsets: ["latin"] });

// hidden metadata

export default function RootLayout({
  children,
}: Readonly<{
  children: React.ReactNode;
}>) {
  return (
    <ClerkProvider>
      <html lang="en">
        <body className={inter.className}>
          <Header />
          {children}
          <Footer />
          <Analytics />
        </body>
      </html>
    </ClerkProvider>
  );
}
使用 middleware 为请求添加鉴权
import { authMiddleware } from '@clerk/nextjs'

// See https://clerk.com/docs/references/nextjs/auth-middleware
// for more information about configuring your Middleware

export default authMiddleware({
  // Allow signed out users to access the specified routes:
  publicRoutes: ['/'],
  // Prevent the specified routes from accessing
  // authentication information:
  // ignoredRoutes: ['/no-auth-in-this-route'],
})

export const config = {
  matcher: [
    // Exclude files with a "." followed by an extension, which are typically static files.
    // Exclude files in the _next directory, which are Next.js internals.

    '/((?!.+\\.[\\w]+$|_next).*)',
    // Re-include any files in the api or trpc folders that might have an extension
    '/(api|trpc)(.*)',
  ],
}
启动应用,测试效果
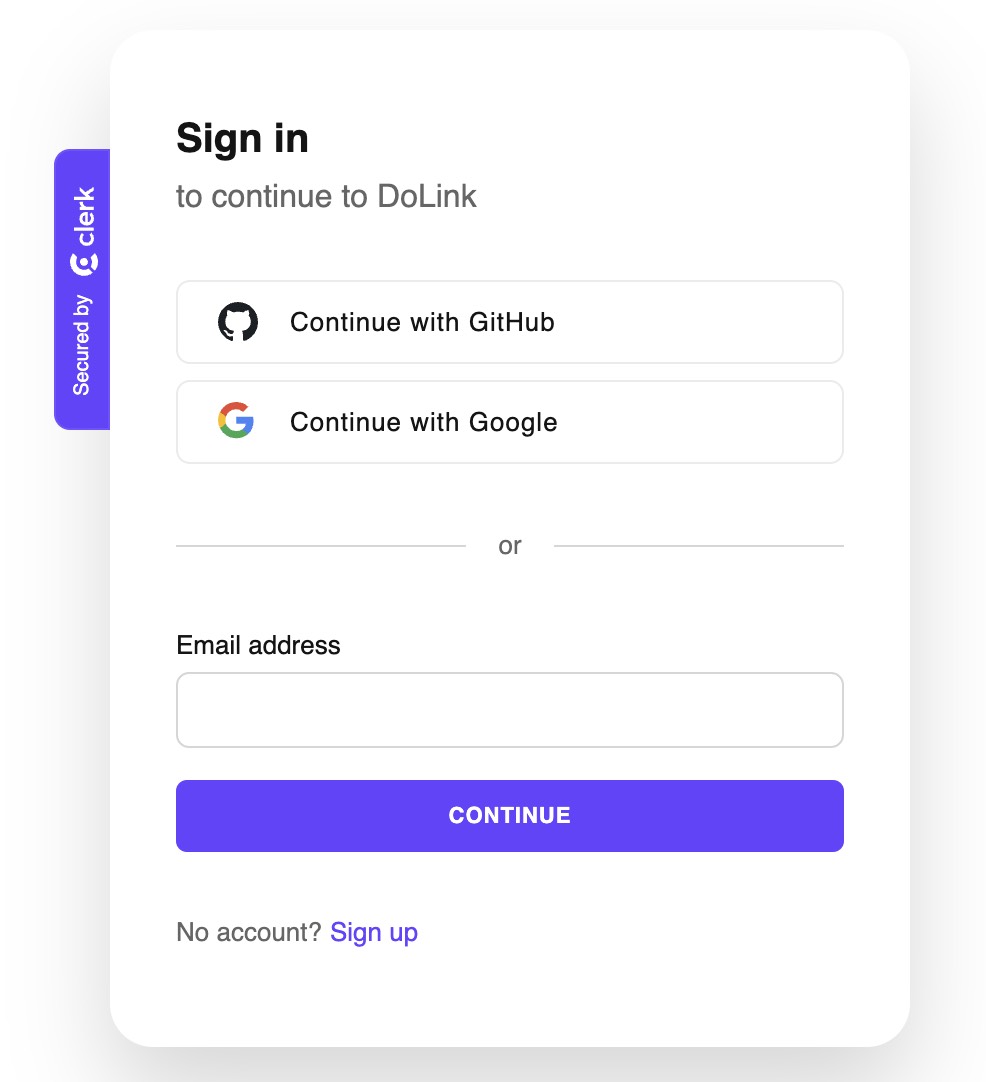
输入 http://localhost:3000 后自动跳转到 Clerk 的登录页面
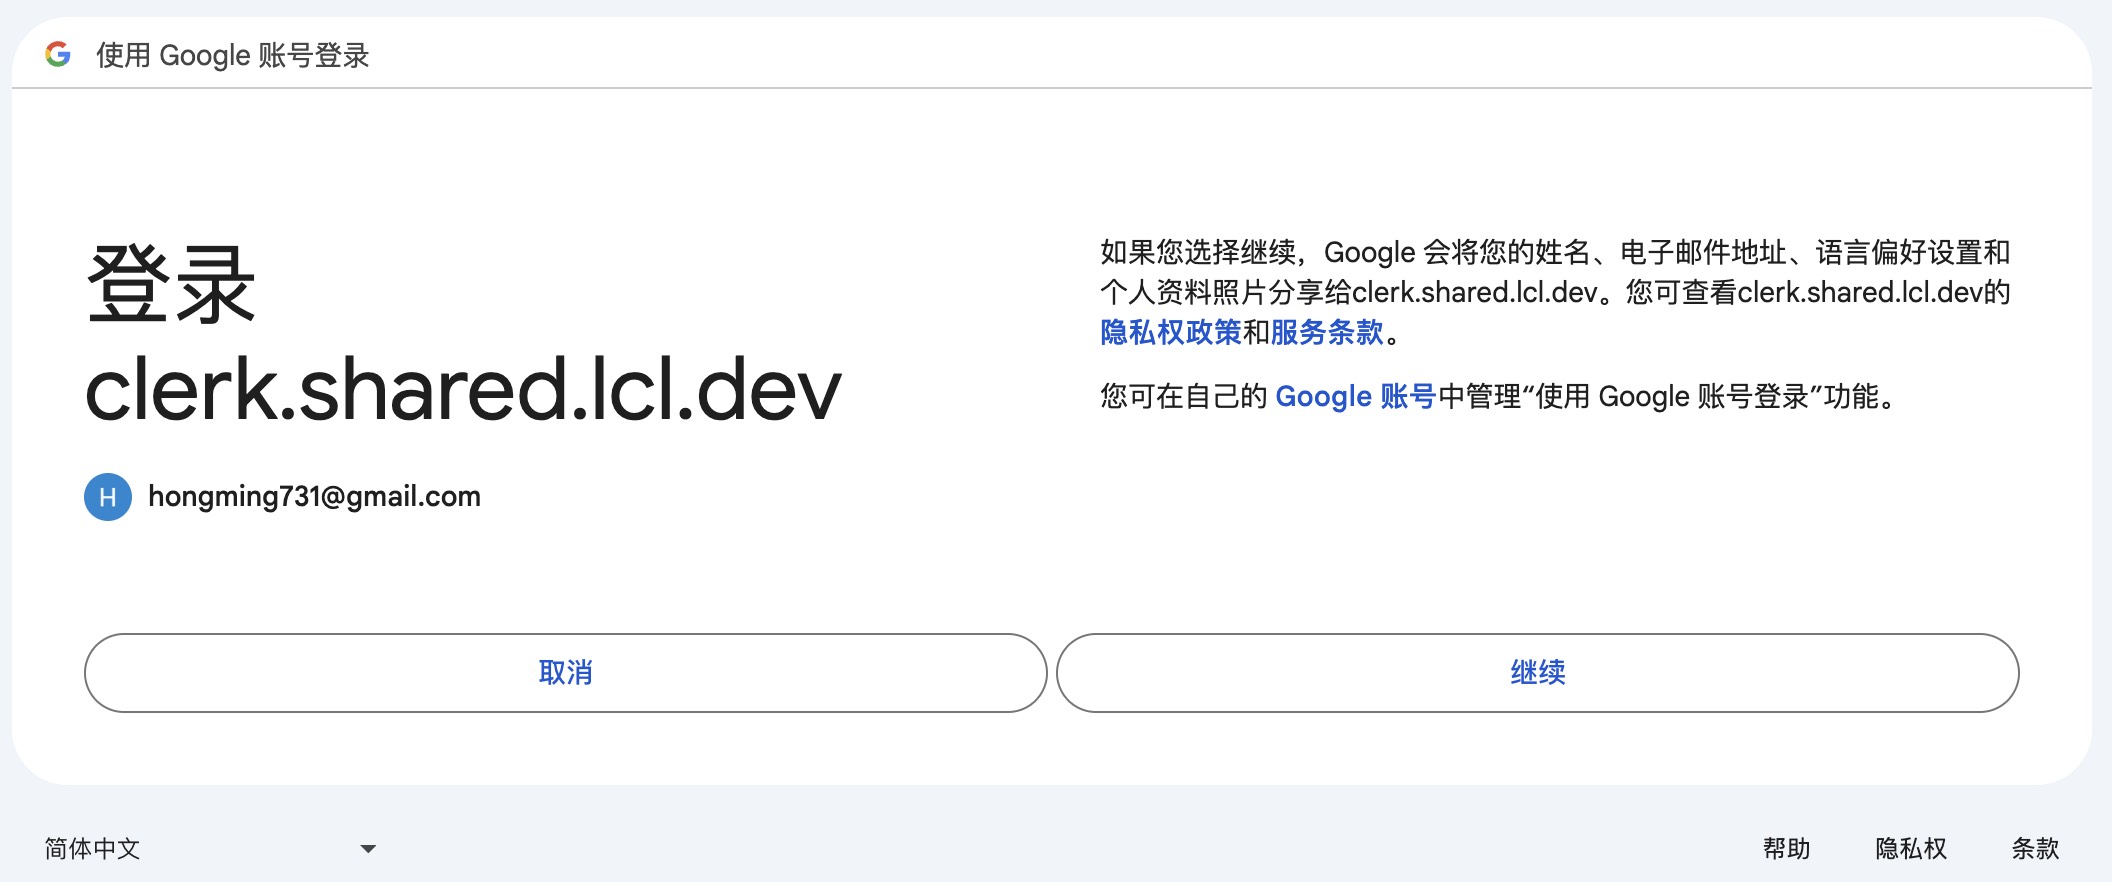
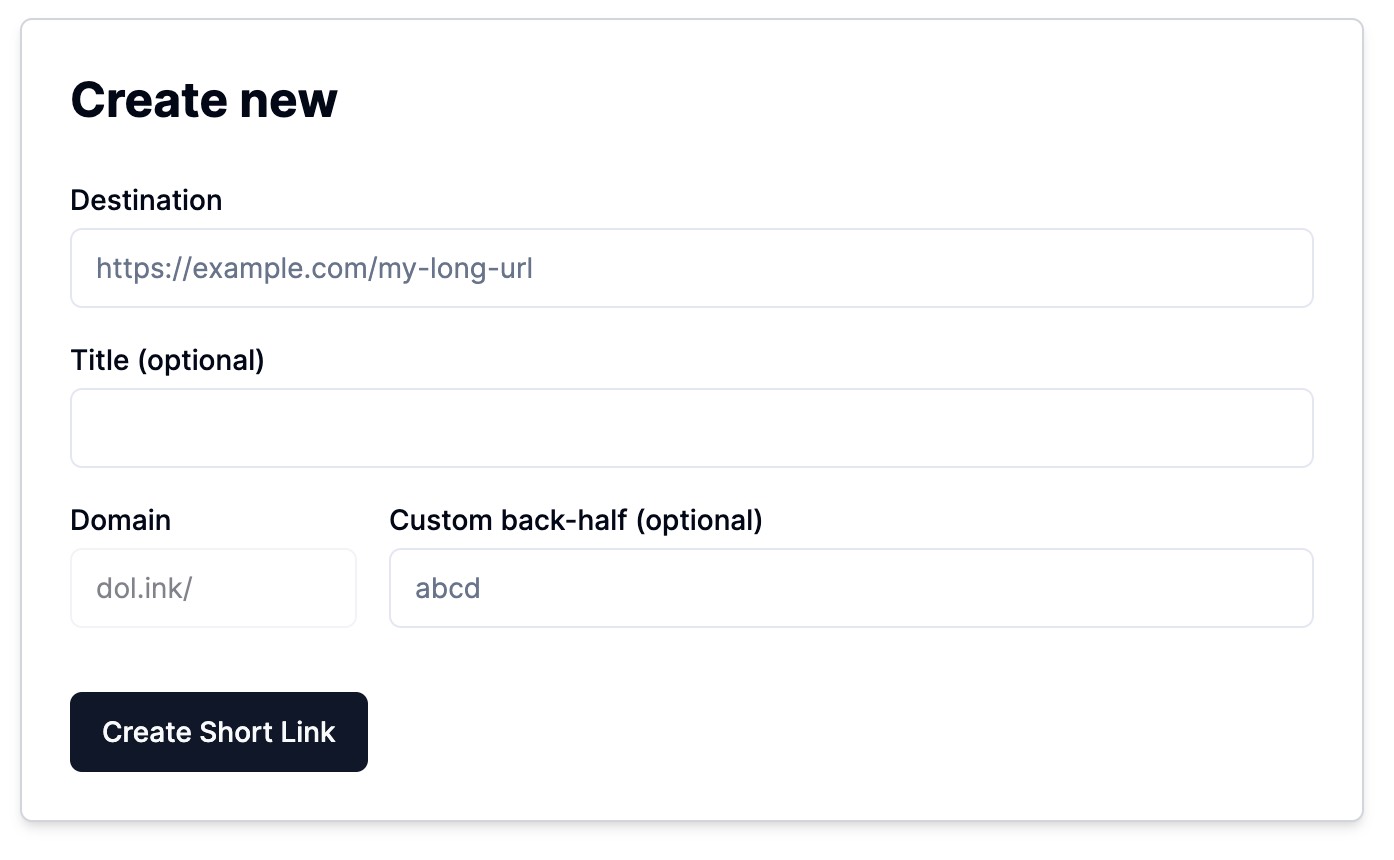
使用 Google 账号登录后,页面自动跳转到首页
添加用户信息组件
在我们原先的 Header 组件中引入 Clerk 的用户信息组件
import { UserButton } from '@clerk/nextjs'

import Image from 'next/image'
import Link from 'next/link'

export default function Header() {
  return (
    <header className="flex h-14 items-center justify-start border-b border-gray-200 px-4 dark:border-gray-700 lg:px-6">
      <div className="flex items-center">
        <Link href="/">
          <Image
            src="/logo.png"
            alt="Logo"
            width={40}
            height={40}
            className="mr-2 h-8 w-auto"
          />
        </Link>
        <Link href="/" className="flex items-center">
          <span className="pl-2">DoLink</span>
        </Link>
      </div>
      <div>
        <UserButton />
      </div>
    </header>
  )
}
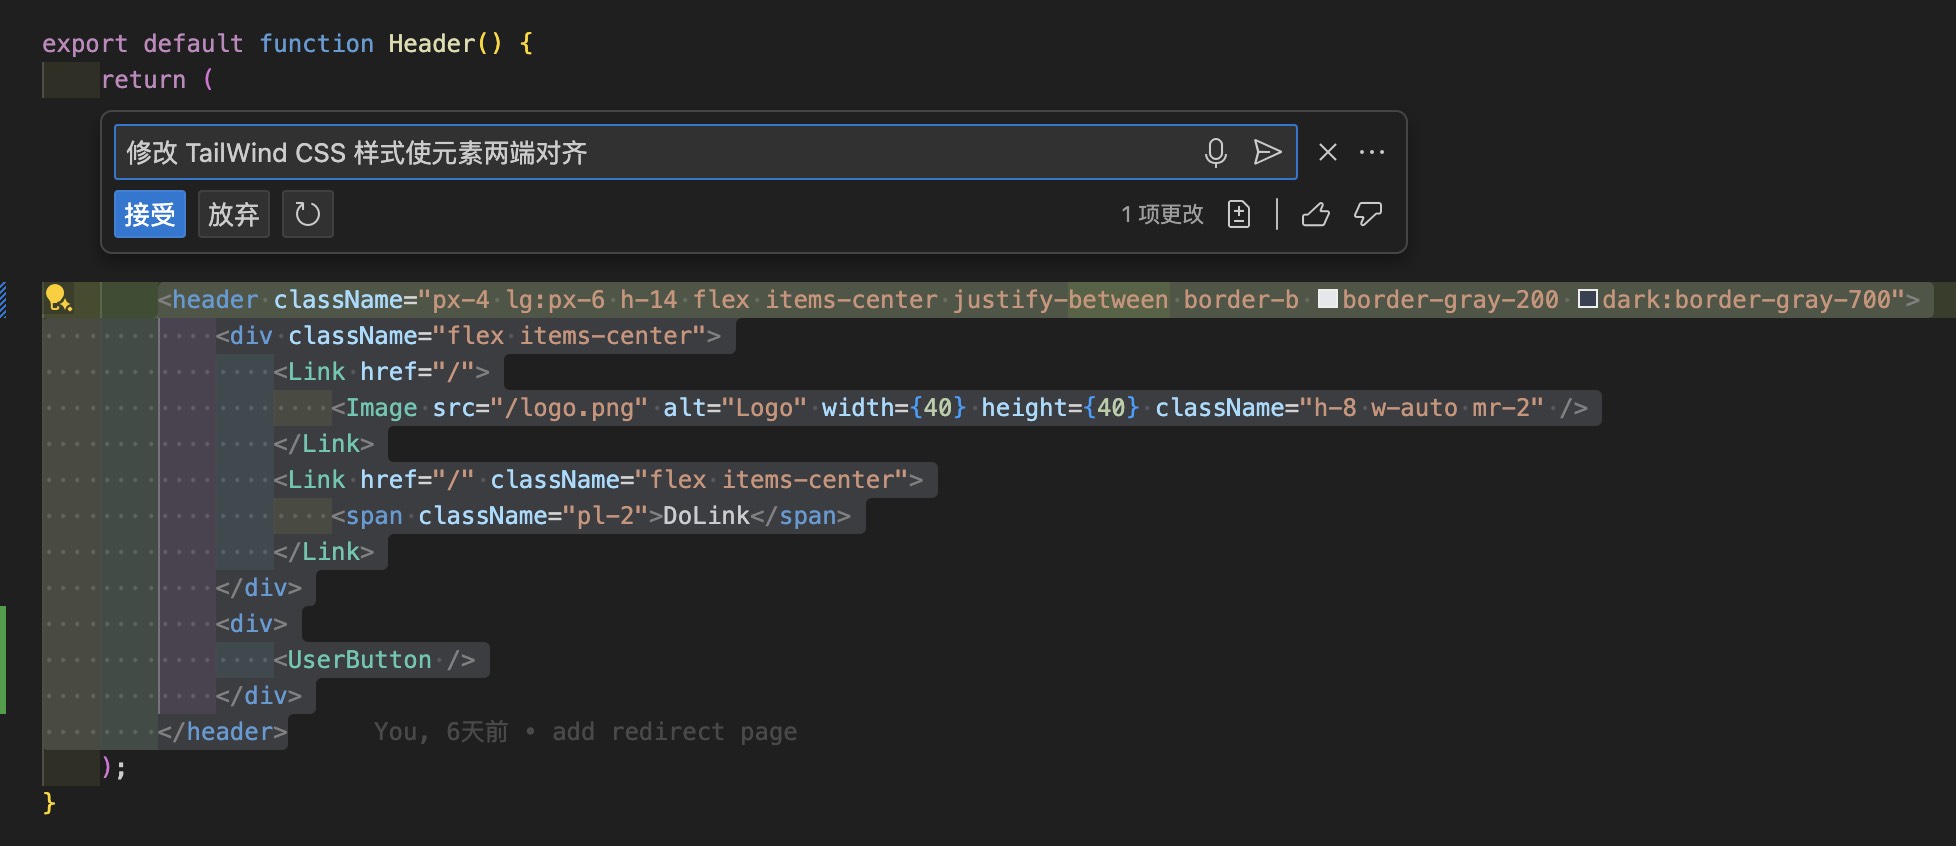
然后修改样式文件,让网站 Logo 和用户信息组件两端对齐
查询效果
